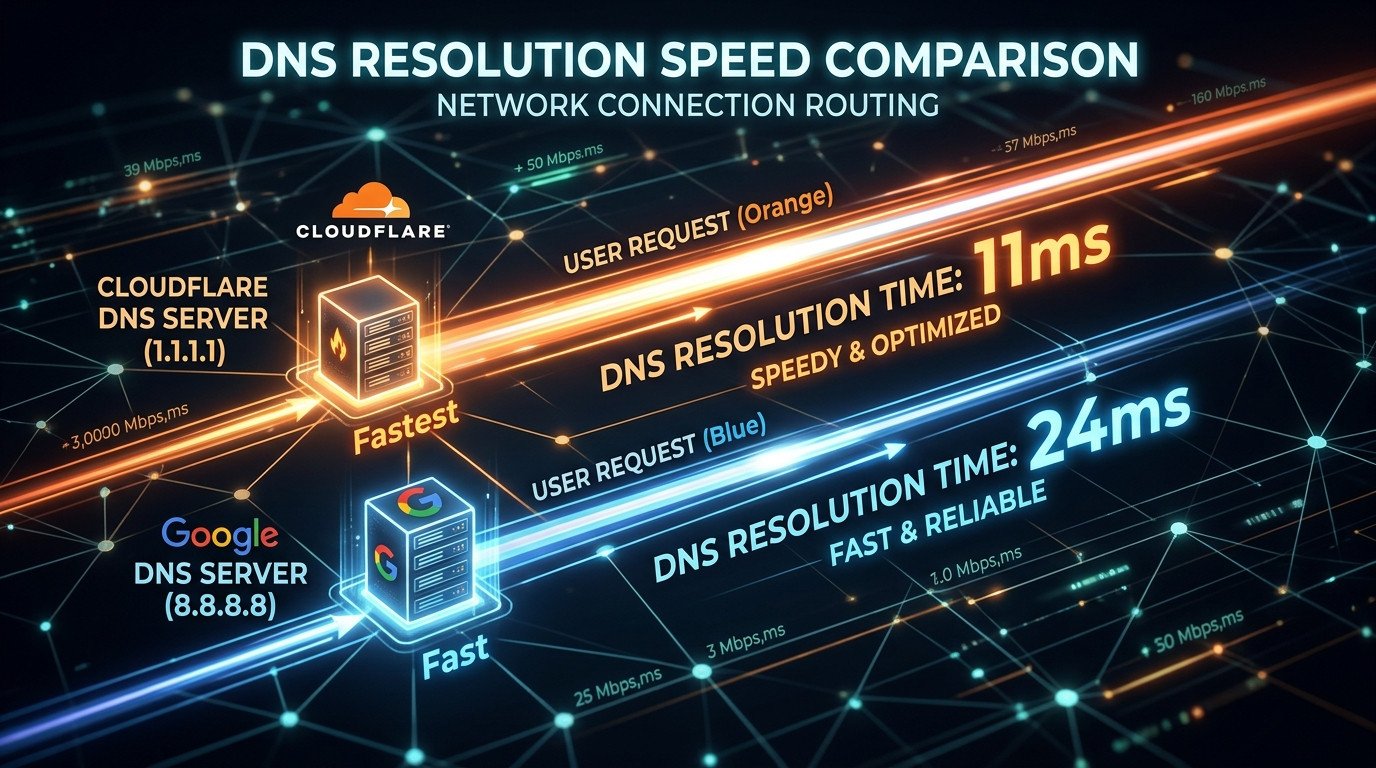

When it comes to choosing between Cloudflare DNS and Google DNS, many users face confusion about which service offers better performance, security, and reliability. Both providers offer free public DNS services that can significantly improve your internet browsing experience.
What is DNS and Why Does It Matter?
DNS (Domain Name System) acts as the phonebook of the internet. When you type a website address like 'google.com', DNS translates that human-readable name into an IP address that computers can understand. A faster, more secure DNS service can:
- Speed up your web browsing
- Enhance your online security
- Block malicious websites
- Improve overall internet performance
Cloudflare DNS vs Google DNS: Key Differences
Cloudflare DNS (1.1.1.1)
Cloudflare's public DNS service launched in 2018 with a focus on privacy and speed. Key features include:
- Privacy-focused with no data logging
- Fast global network with over 270 locations
- Additional security features like malware blocking
- Support for DNS over HTTPS and DNS over TLS
Google DNS (8.8.8.8)
Google Public DNS has been available since 2009 and is one of the most widely used DNS services. Its main advantages include:
- Proven reliability with global infrastructure
- Strong security with phishing and malware protection
- Easy setup and configuration
- Free service with no bandwidth limits
How to Configure Cloudflare DNS
Windows Configuration
- Open Control Panel > Network and Internet > Network and Sharing Center
- Click on your active network connection
- Select Properties > Internet Protocol Version 4 (TCP/IPv4)
- Choose "Use the following DNS server addresses"
- Enter:
- Primary DNS:
1.1.1.1 - Secondary DNS:
1.0.0.1
- Primary DNS:
- Click OK to save changes
Router Configuration
To set Cloudflare DNS for your entire network:
- Access your router's admin panel (usually 192.168.1.1 or 192.168.0.1)
- Navigate to DNS settings
- Replace existing DNS servers with:
- Primary:
1.1.1.1 - Secondary:
1.0.0.1 - Tertiary:
2606:4700:4700::1111(IPv6) - Quaternary:
2606:4700:4700::1001(IPv6)
- Primary:
- Save and restart your router
How to Configure Google DNS
Windows Configuration
- Follow the same steps as Cloudflare configuration
- In the DNS server addresses, enter:
- Primary DNS:
8.8.8.8 - Secondary DNS:
8.8.4.4
- Primary DNS:
- Click OK to save changes
Mobile Configuration (Android/iOS)
For mobile devices:
- Go to Settings > Wi-Fi
- Tap and hold your connected network
- Select "Modify network" or "Manage network settings"
- Choose "Advanced options" or "IP settings"
- Switch to "Static" or "Manual"
- Enter DNS addresses:
- For Cloudflare:
1.1.1.1and1.0.0.1 - For Google:
8.8.8.8and8.8.4.4
- For Cloudflare:
Performance Comparison
Both services offer excellent performance, but tests show:
- Cloudflare DNS: Generally faster response times, especially for privacy-conscious users
- Google DNS: More consistent performance across different regions due to longer infrastructure presence
Security Features
Both providers offer security enhancements:
- Malware and phishing protection
- DDoS protection
- Encrypted DNS options (DoH, DoT)
Which Should You Choose?
The choice between Cloudflare DNS and Google DNS depends on your priorities:
- Choose Cloudflare if you value privacy and want the fastest DNS resolution
- Choose Google if you prefer a well-established service with proven reliability
You can test both services using online DNS speed tests to determine which performs better in your location.